


Logiline| Logistic CRM system - Website page “Synchronization of logistic companies”
Go to the “Settings” menu and select the “Synchronization of logistic companies” tab. You will be redirected to the synchronization settings page for data exchange with logistics companies. To enable synchronization, you must first activate it on the “Authorization” page.
By default, the page already contains the available logistics companies. If you need to add another logistics company, fill out the form and submit the request (Figure 1, Pointer 1).
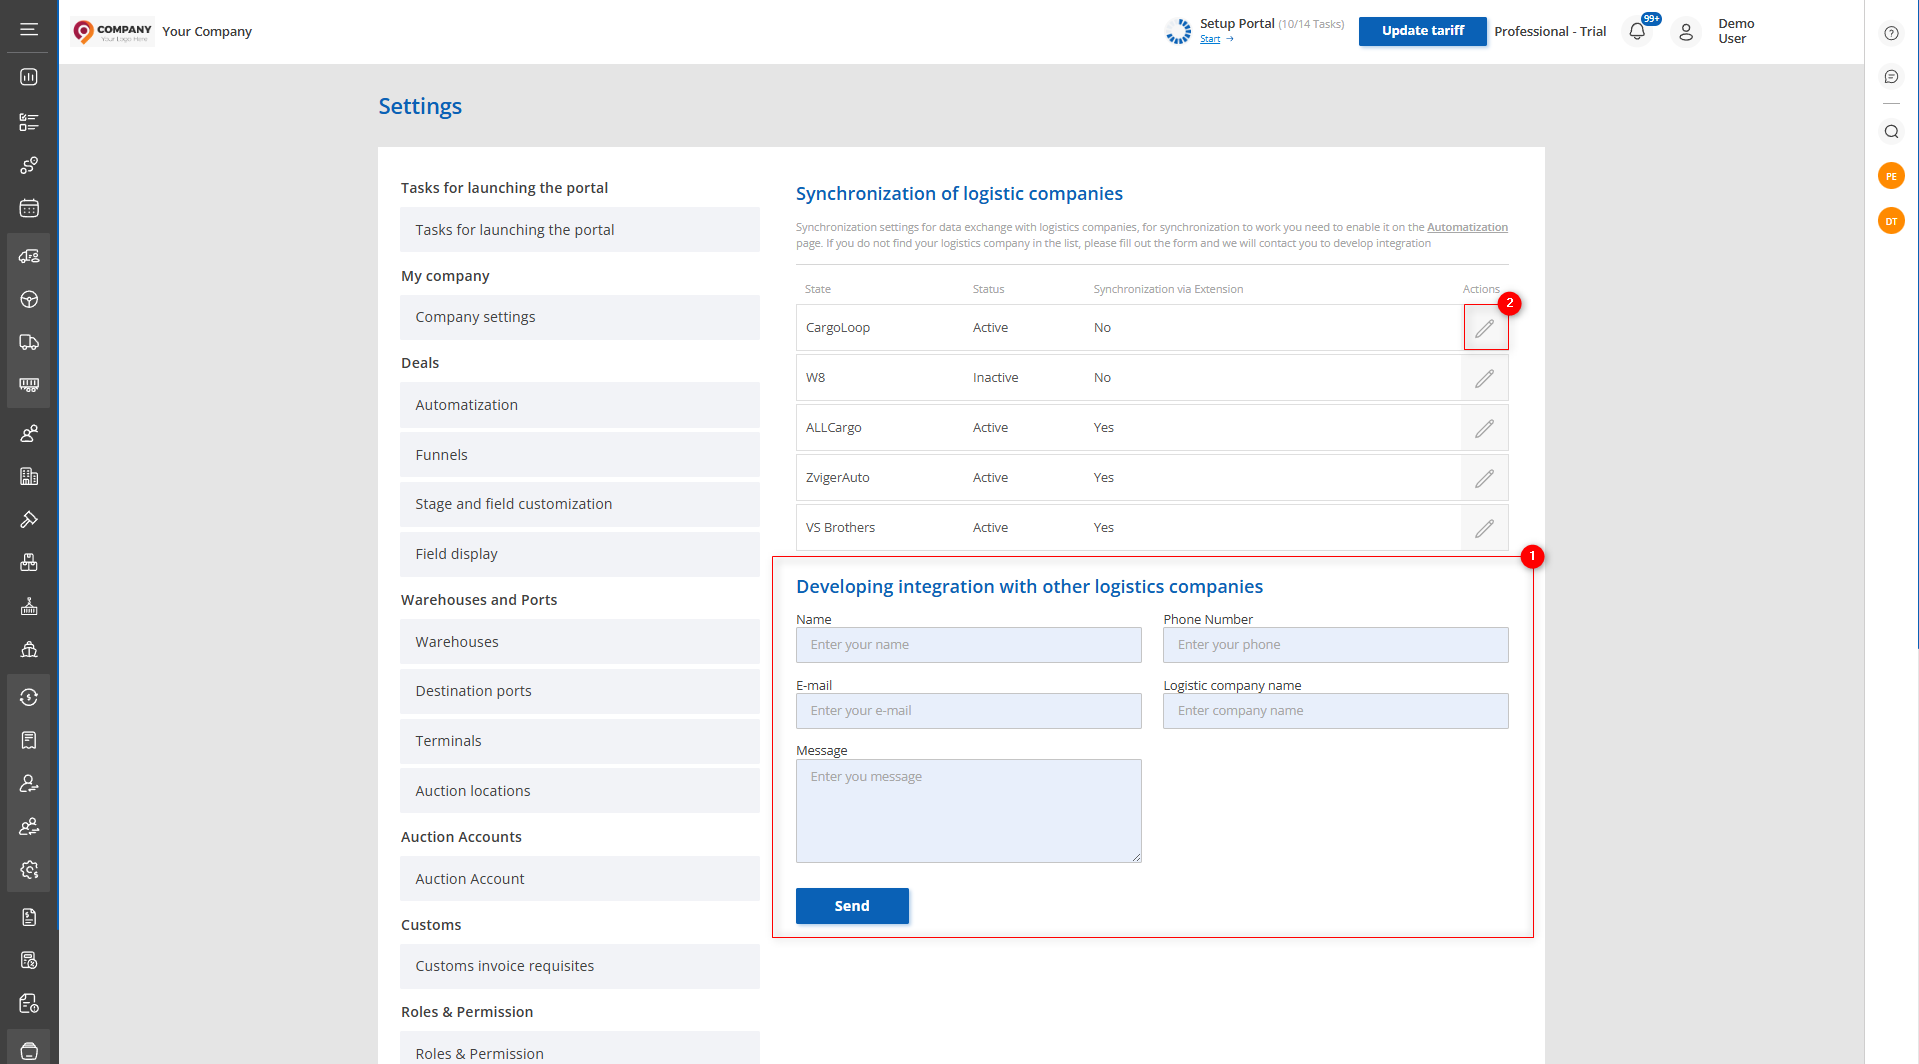 Figure 1 — Website page “Synchronization of logistic companies”
To configure synchronization, click the ![]() button (Figure 1, Pointer 2). This will open the logistics company window, which consists of four sections: “Warehouses,” “Destination Ports,” “Stages,” and “Authorization Data”.
button (Figure 1, Pointer 2). This will open the logistics company window, which consists of four sections: “Warehouses,” “Destination Ports,” “Stages,” and “Authorization Data”.
In the “Warehouses” section, you need to match the transport company’s warehouses with your own. To do this, select the corresponding warehouse next to the desired one (Figure 2, Pointer 1).
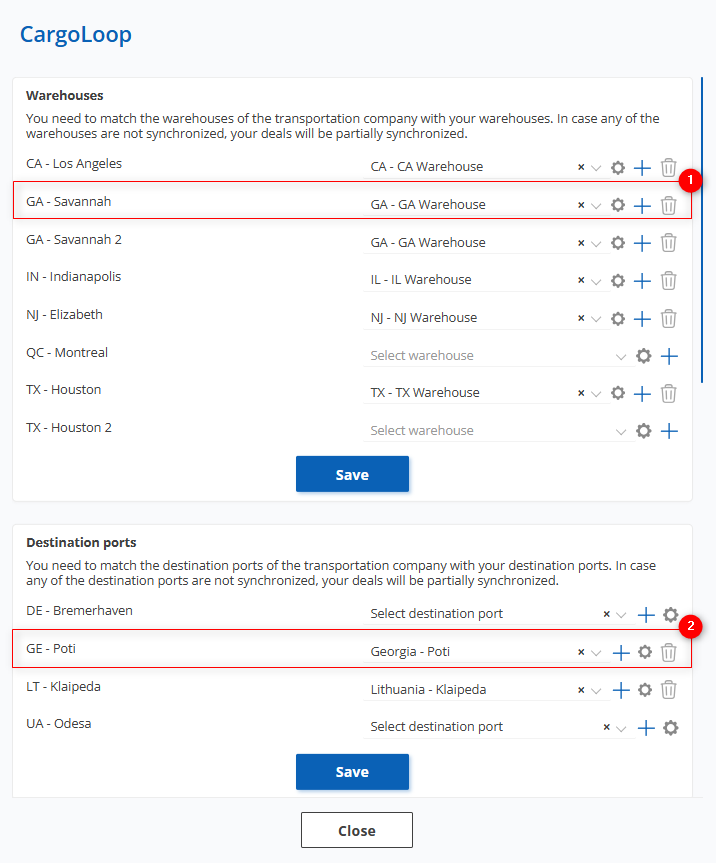 Figure 2 — Logistics company window
When you click on ![]() , a page with all created warehouses will open, where you can add new ones or make changes (see the description of the “Warehouses” page).
, a page with all created warehouses will open, where you can add new ones or make changes (see the description of the “Warehouses” page).
If you need to quickly add a warehouse, click on ![]() , which will open the “Warehouse” window. Fill in the required fields and save the data (Figure 3). After that, the warehouse will automatically appear in the matching field.
, which will open the “Warehouse” window. Fill in the required fields and save the data (Figure 3). After that, the warehouse will automatically appear in the matching field.
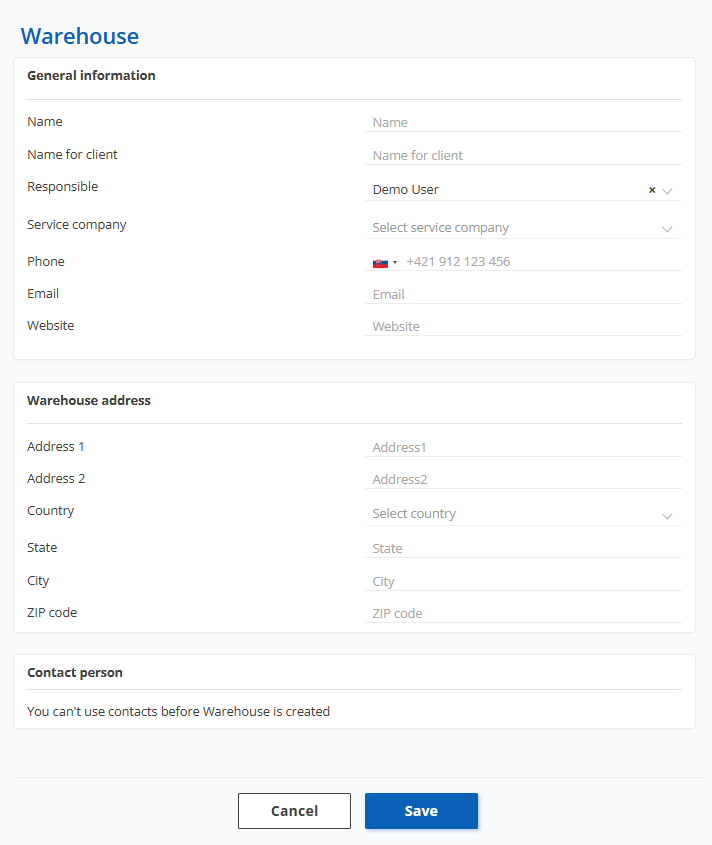 Figure 3 — “Add Warehouse” window
To remove the connection, click the ![]() button and in the confirmation window select “Yes” to confirm or “No” to cancel (Figure 4).
button and in the confirmation window select “Yes” to confirm or “No” to cancel (Figure 4).
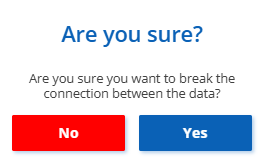 Figure 4 — “Delete Connection Confirmation” window
Note: If any of the warehouses are not synchronized, your deals will be partially synchronized.
In the “Destination Ports” section, you need to match the destination ports of the transport company with your ports. To do this, select the corresponding port from your list next to the desired port (Figure 2, Pointer 2). The rest of the actions are performed similarly to the warehouse section.
In the “Stages” section, the stages at which the vehicle is located in the logistics company are displayed. To add a stage, click the “Select Stages” button (Figure 5, Pointer 1), which will open a window where you can mark the required stages and click “Save”. To cancel changes, click “Cancel” (Figure 6, Pointer 1). Only the selected stages will be synchronized.
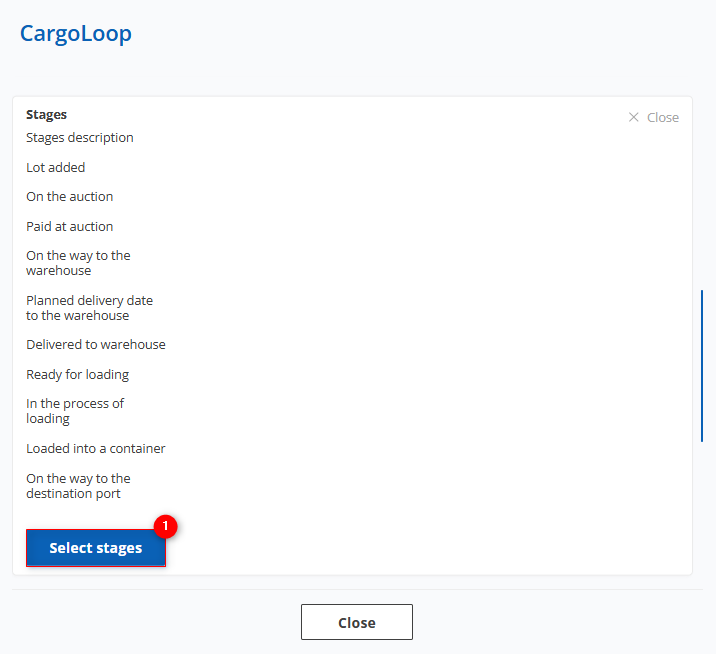 Figure 5 — Continued view of the logistics company window
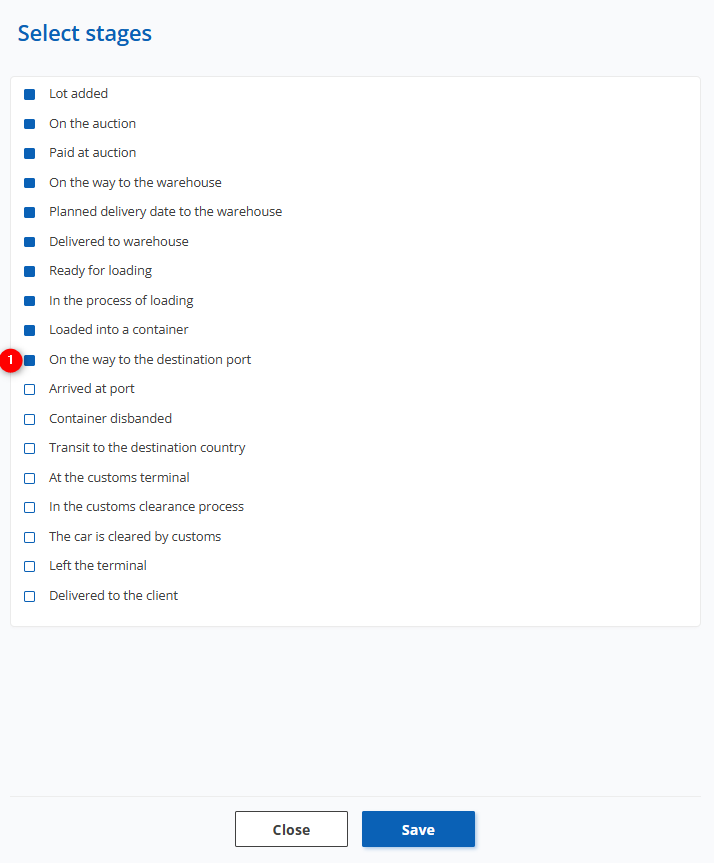 Figure 6 — “Select Stages” window
The “Authorization Data” section displays all logistics company accounts.
To add a new account, click the “Add New Account” button (Figure 7, Pointer 1).
In the appearing window, click the “Edit” button (Figure 7, Pointer 2) to unlock the input fields:
-
“Login” — enter the login for connecting to the logistics company;
-
“Password” — enter the password for authorization in the logistics company system;
-
“Account State” — specify the account’s active status;
-
“Synchronize all new lots” — choose whether to automatically import new lots for this account;
-
“Responsible”— specify the employee who will be responsible for deals after synchronization with the account;
-
“Client” — specify the client to whom deals will be automatically assigned after synchronization with the account.
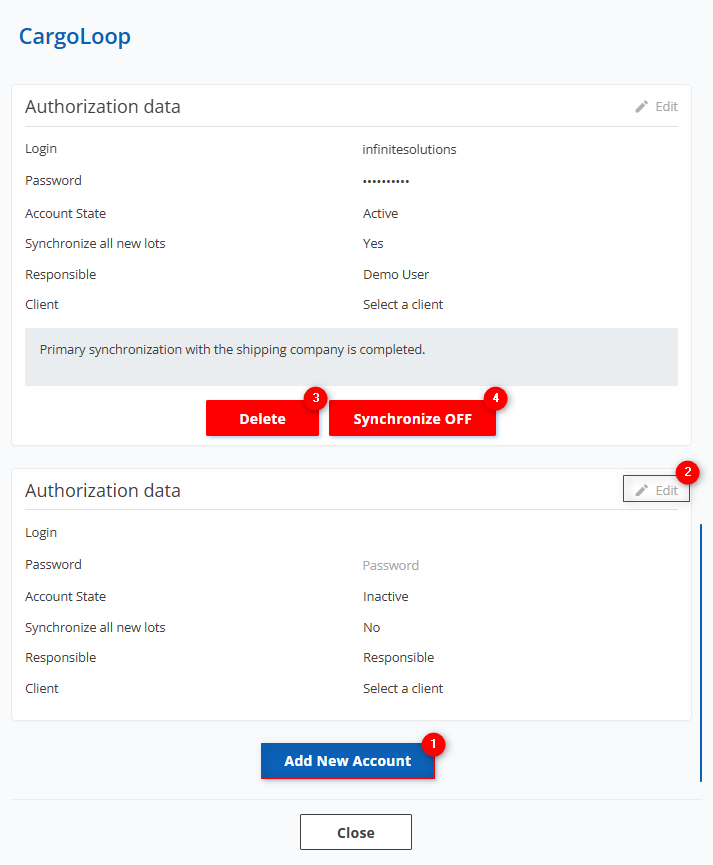 Figure 7 — Adding a logistics company account
To start synchronization, click the “Synchronize ON” button. After confirmation, synchronization will be activated for all previously added vehicles, and new vehicles will automatically appear in your account and begin syncing. To stop synchronization, click the “Synchronize OFF” button (Figure 7, Pointer 4), then in the confirmation window select “Yes” to confirm or “No” to cancel (Figure 8).
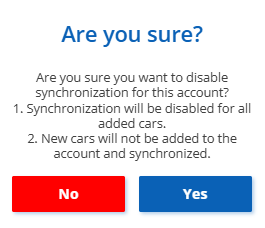 Figure 8 — Synchronization disable confirmation window
To delete an account, click the “Delete” button, then confirm your choice by clicking “Yes” or “No” in the confirmation window that appears (Figure 9).
 Figure 9 — Account deletion confirmation window