


Logiline| Logistic CRM system - Site page "Event Notifications"
To customize the notifications, go to “Settings” in the menu and select the “Event Notifications” tab. You will then be redirected to the page of notifications sent to users when the event stage changes.

Figure 1 - "Event Notifications" website page
Creating a notification
To create the notification you want, click on the "Create" button (Figure 1, Pointer 1) and the "Event Notifications" window will open, where you can customize the notification template.
In the "Notification status" box, check the "Is active" checkbox (Figure 2, Pointer 1) to determine if this notification is active and should be sent to the user.
In the "Message Recipient" section, also specify exactly who should receive this notification. It can be the company owner, their clients, or the responsible employees managing the vehicle. If you additionally check the "Email" option, the notification will also be sent via email (Figure 2, Pointer 2).
Next, in the "Notification edition" block, fill in the fields:
-
“Name” - enter a name for notification;
-
“Events” - from the drop-down list that opens when you click on the
 button , select the event;
 -
“Language” - set the language in which the notification will be sent;
-
“Title” - enter a notification header.
Note: If you check "Send only one time" (Figure 2, Pointer 3), the notification will be sent only once, even if you make changes to the template.
In the "Description" section, compose the notification text (Figure 2, Pointer 4) using the templates provided below (Figure 3, Pointer 2) . The templates are divided into different blocks depending on the stages of the transaction process.
If it is necessary to attach additional files to the notification text, there is an "Files attach" field (Figure 3, Pointer 1), where you need to select the file type from the dropdown list that opens when clicking the button, choosing from the available options.
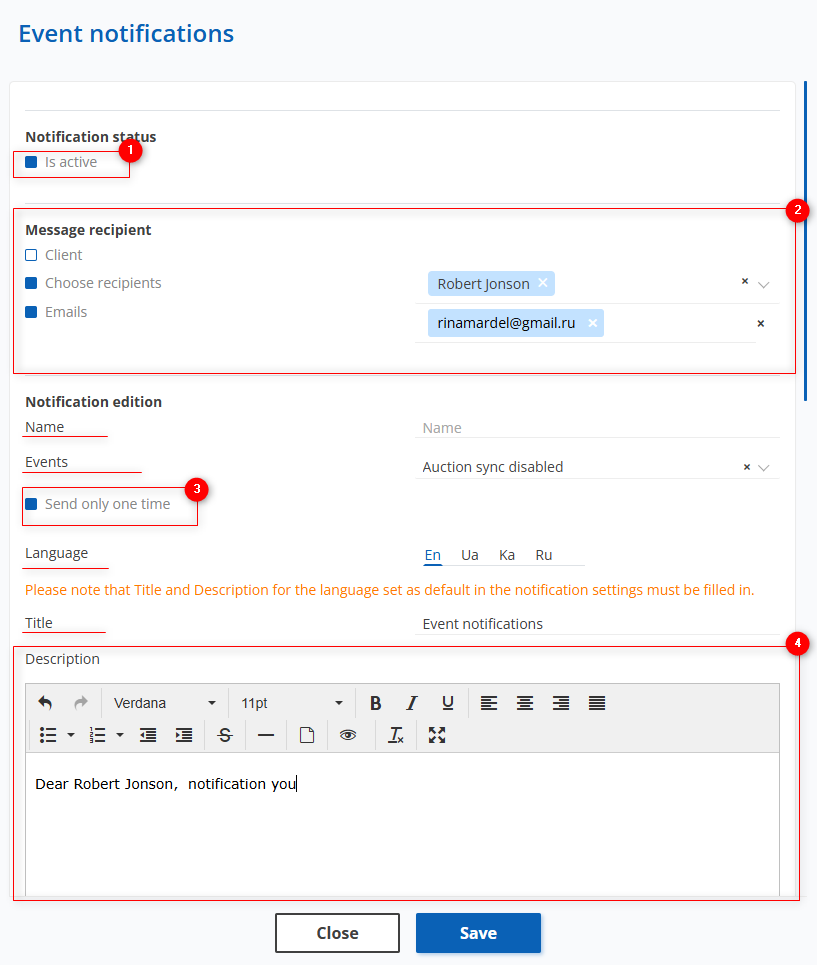
Figure 2 - "Event Notifications" window
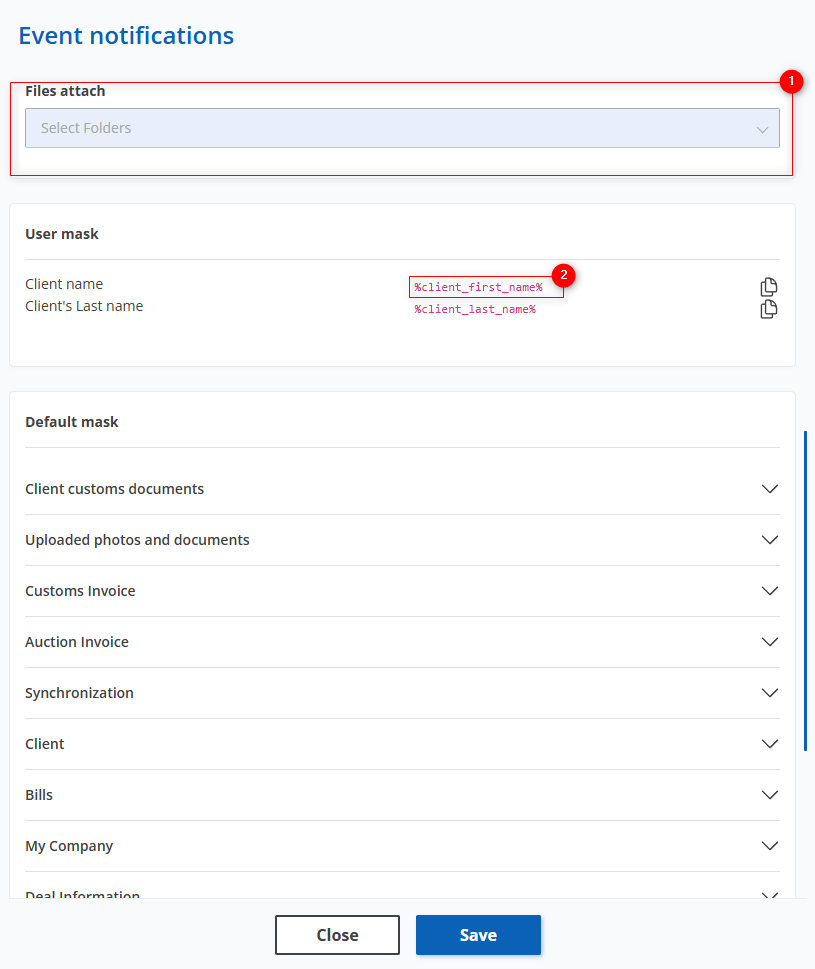
Figure 3 - Continuation of the "Event Notifications" window
To save the data, click on the "Save" button If canceled, click on the "Close" button.
Editing a notification
In order to edit the notification template, click on the ![]() button located on the right side of the entry in the table (Figure 1, Pointer 3). This opens the "Event Notifications" window (Figure 2), where the data is changed in the same way as for the creation (see above).
button located on the right side of the entry in the table (Figure 1, Pointer 3). This opens the "Event Notifications" window (Figure 2), where the data is changed in the same way as for the creation (see above).
Search by specified filters
The search bar allows you to search by notification name, stage and activity status. To do this, enter any query and press the ![]() button located in the search bar or press the "Enter" button located on the keyboard. As a result, the found records corresponding to the entered parameters will be displayed in the table.
button located in the search bar or press the "Enter" button located on the keyboard. As a result, the found records corresponding to the entered parameters will be displayed in the table.
To clear the entire search window and reset the filter, click on the ![]() button. If you want to remove one of the parameters, click on the cross which is located in the query window itself.
button. If you want to remove one of the parameters, click on the cross which is located in the query window itself.
Clicking on the "Filter" button (Figure 1, Pointer 2) will open a filter window, which is used to set the search parameters (Figure 4):
-
“Name” - enter a name for the notice;
-
“Event” - select the event stage from the drop-down list that opens when the
button is pressed; -
“Activity” - select the notification activity status from the drop-down list that opens when you click on the
button.; -
“Created at” - if you click on an empty field, select the specific date or time period for which the notification was created.
Note: It is possible to set one or more parameters to perform a search.
After entering the parameters, click on the "Search" button to generate the list of clients, in case of cancelation - the "Reset" button.
As a result, the search window will display all queries entered in the filter and the search result in the table.
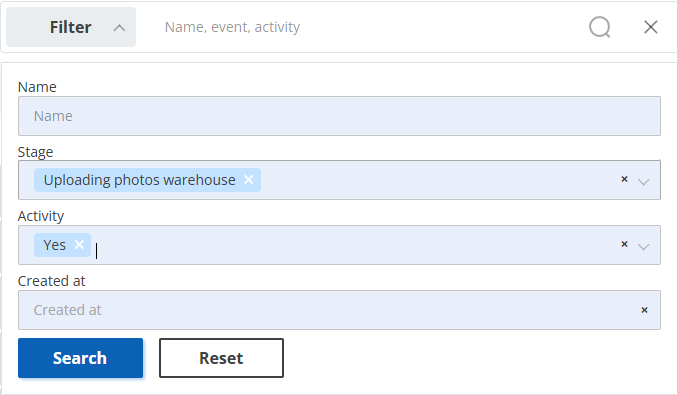
Figure 4 - Filter window
Deleting a notification
In order to delete a notification template, click on the ![]() button located on the right side of the record in the table (Figure 1, Pointer 4). This will open a window where you can confirm the deletion by clicking on the "Yes" button and cancel by clicking on the "No" button (Figure 5). As a result, the notification will be deleted.
button located on the right side of the record in the table (Figure 1, Pointer 4). This will open a window where you can confirm the deletion by clicking on the "Yes" button and cancel by clicking on the "No" button (Figure 5). As a result, the notification will be deleted.
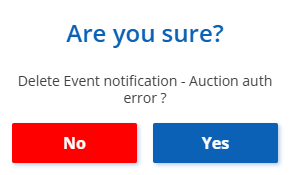 Figure 5 - Confirming/Canceling Notification Deletion