


Logiline| Logistic CRM system - How to create a company?
To create a company, click on the "Add company" button (Figure 1, Pointer 2).
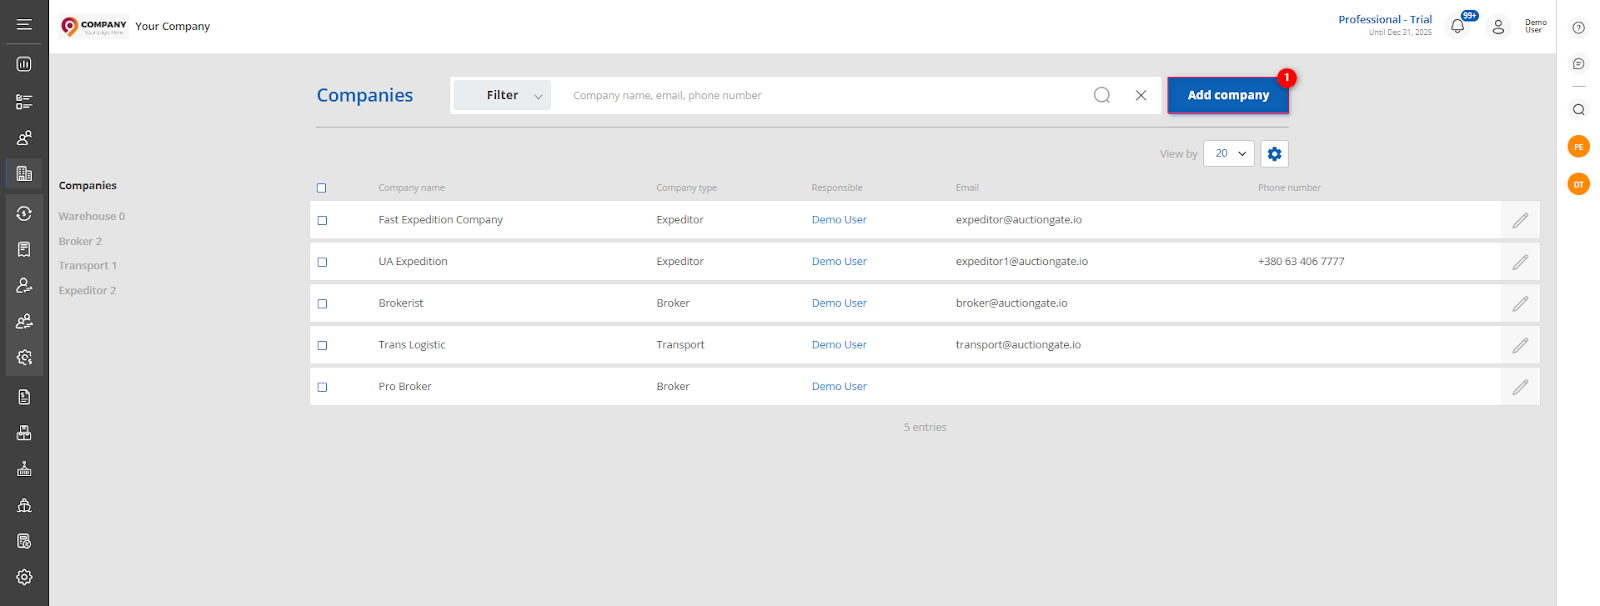 Figure 1 - "Company" website page
After that the "Service companies" window will open, which represents 2 blocks with information.
- Block “Company information”. This block displays information with general information about the company (Figure 2, Pointer 1):
-
“Company name” - type in the company name;
-
“Responsible” - from the drop-down list that opens when you press the
 button, select the employee to be assigned to the client;
 -
“Company type” - select the company type from the drop-down list that opens when you click on the
button; -
“Website” - enter the web address of the company;
-
“Phone number” - provide the company's phone number;
-
“Email” - provide the company's e-mail address;
Note: The Company name and Company type fields are mandatory.
When selecting the company type “Broker,” the following additional fields become available:
-
“Email for notifications of custom payments” – specify the email address to which notifications about incoming payments from clients will be sent;
-
“Email for notifications of documents client” – specify the email address to which notifications about uploaded client documents will be sent.
To add an additional field, click the "Add custom field" button (Figure 2, Pointer 3). This will create a new field where you can enter the required data. If you want to delete this field, click ![]() .
.
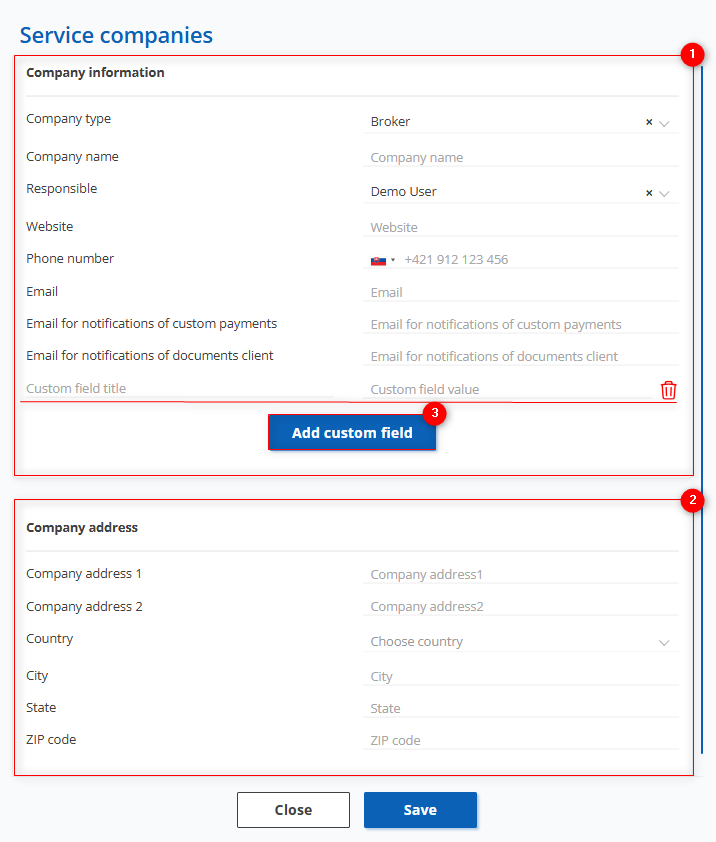 Figure 2 - "Service companies" window
- Block “Company address” This block displays information about the company's location (Figure 2, Pointer 2):
-
“Company Address 1” - enter the company's primary address;
-
“Company Address 2” - provide an additional address (if necessary);
-
“Country” - specify the country where the company is located;
-
“City” - enter the city where the company is located;
-
“State” - specify the state;
-
“Zip code” - enter your zip code.
To save the data, click on the "Save" button, if canceled, click on the "Close" button.