


Logiline| Logistic CRM system - How to edit a company?
To edit a company, select the required entry in the table and click the ![]() button (Figure 1, Pointer 1).
button (Figure 1, Pointer 1).
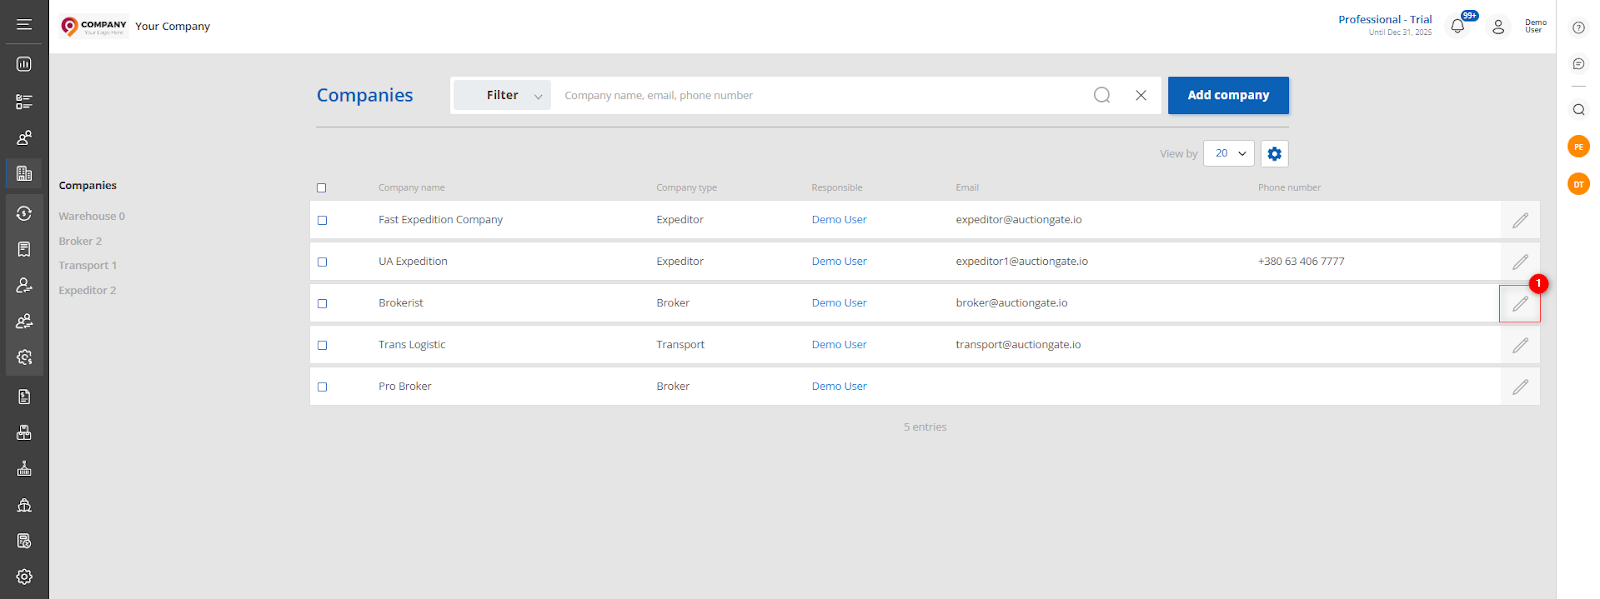 Figure 1 - "Company" website page
This will open the "Company" window, which includes three tabs: “General”, “Deals”, “Users” and "Containers" (Figure 2, Pointer 1) .
General tab:
Includes general information about the company, to make the fields available for editing, click "Edit" (Figure 2, Pointer 2), where data changes are made in the same way as when creating (see How to create a company?).
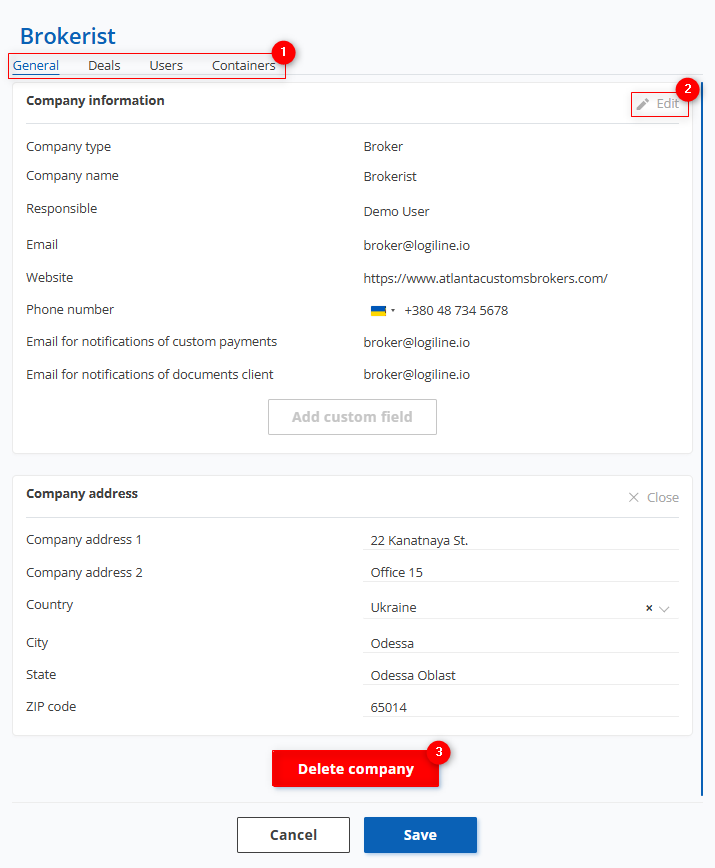 Figure 2 - "Company"/General window
If you need to delete a company, click the "Delete company" button. After that a window will open, in which to confirm the deletion click on the "Yes" button, to cancel the deletion click on the "No" button (Figure 3).
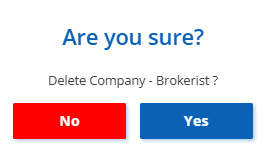 Figure 3 - Confirming/Canceling Company Deletion
To save the changes, click the "Save" button. Use the "Close" button to close the window.
Deals tab:
The "Deals" tab contains brief information about the deals in which this company is involved. This information includes the current stage of the transaction, as well as data on the date of sale, VIN number, make, model and year of manufacture of the vehicle. In addition, the warehouse where the vehicle is located is indicated.
Search is performed by VIN, make, model, and year of the vehicle.
Enter the required information and press the ![]() button or the Enter key on your keyboard. The table will then display records matching the entered criteria.
button or the Enter key on your keyboard. The table will then display records matching the entered criteria.
To clear the entire search field and reset the filter, press the ![]() button.
button.
To remove a single search parameter, click the cross located within the search field.
Clicking on a vehicle (Figure 4, Pointer 1) will open a "Deals" window with full details of the transaction, providing the ability to enter or edit data .
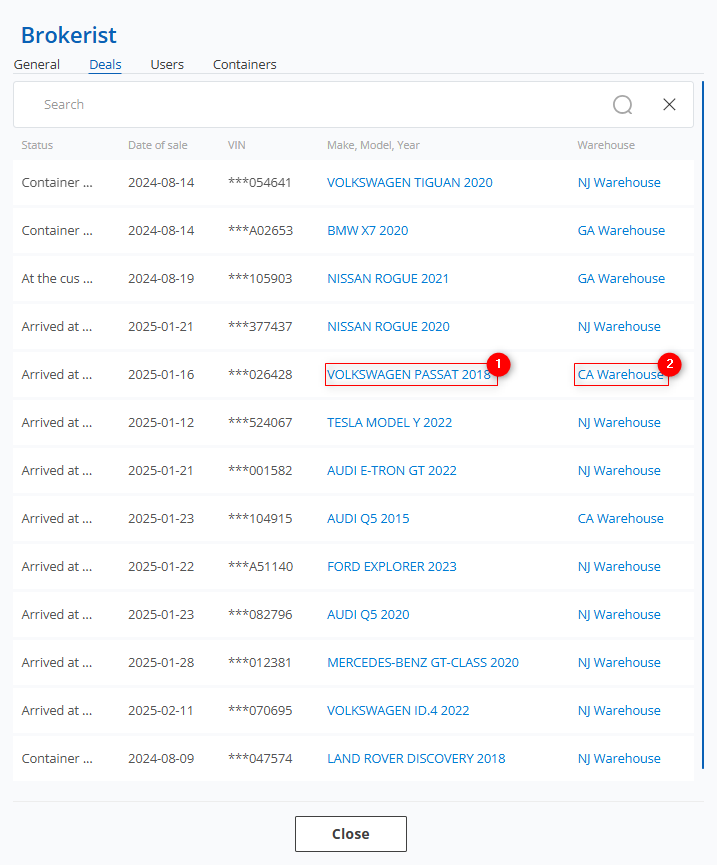 Figure 4 - Company/Deals window
Clicking on a warehouse (Figure 4, Pointer 2) will open the "Warehouse" window, which will show all the vehicles in that warehouse. For each of them information about the current stage of the transaction, customer and delivery date will be available (Figure 5).
Note: Only vehicles that are in the stages Delivery to warehouse, Ready for loading, In the process of loading will be displayed in the warehouse.
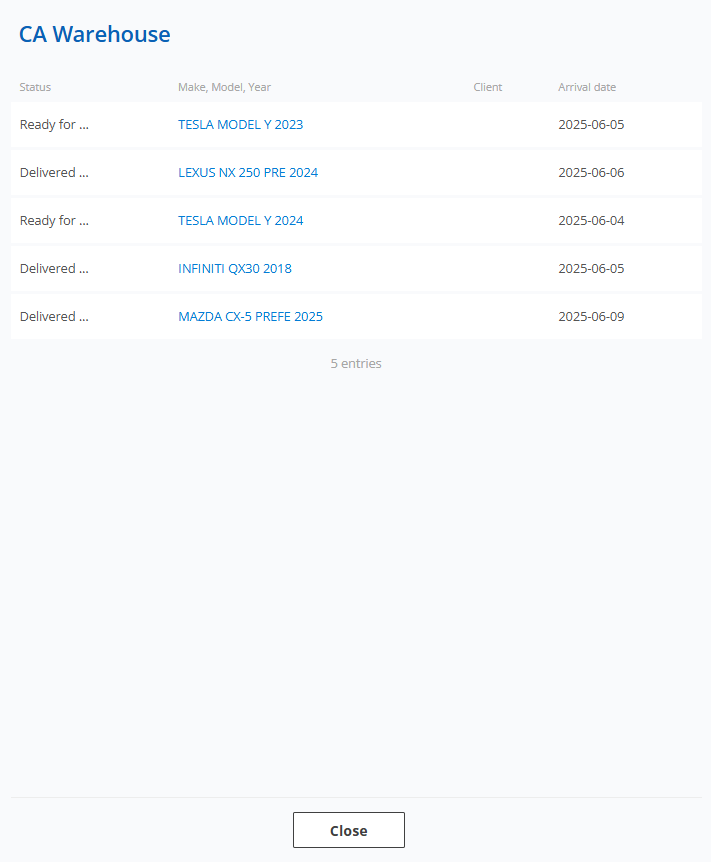 Figure 5 - "Warehouse" window
Users Tab:
This tab displays employees added for collaborative work.
To add a new employee, click the “Create” button (Figure 6, Pointer 1), which will open the “Add Employee” window where you need to:
-
specify the employee’s activity status;
-
select the company type — internal or external employee (e.g., partner);
-
indicate the company to which the employee belongs;
-
fill in the fields: first name, last name, email, phone;
-
if necessary, specify the Telegram nickname;
-
select the employee’s role.
After filling in the fields, click “Save” to add the employee to the system (see the “Employees” page description).
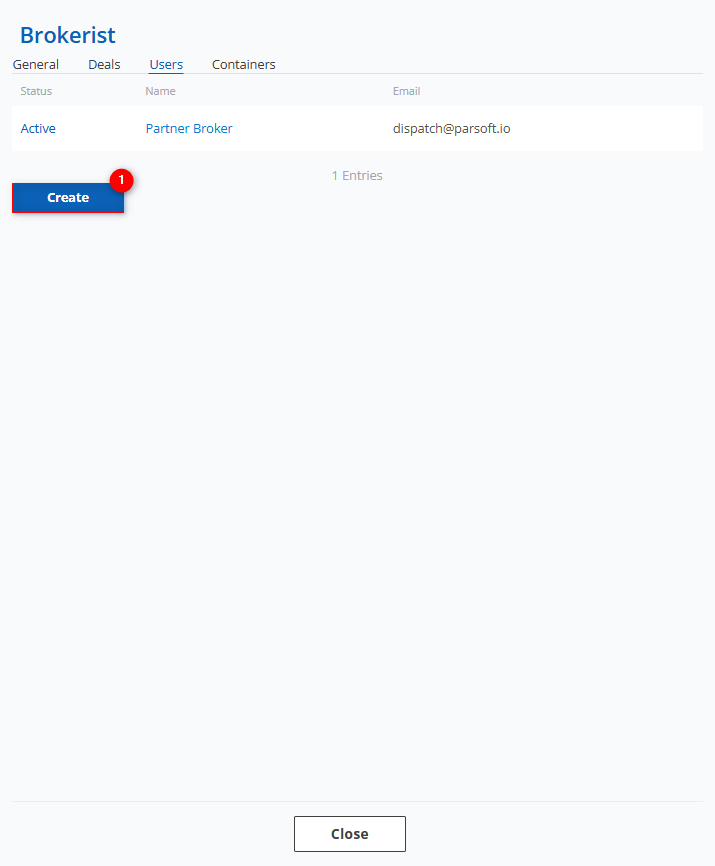 Figure 6 - Company/Users window
Containers tab:
The Containers tab provides a summary of the containers that this company is involved in. This information includes status, container number, shipping company and estimated date of arrival.
To search for a container, enter the container number in the search box (Figure 7, Pointer 1) and press the ![]() “Enter” button located on the keyboard. As a result, the found records matching the entered parameters will be displayed in the table.
“Enter” button located on the keyboard. As a result, the found records matching the entered parameters will be displayed in the table.
To clear the entire search window and reset the filter, click on the ![]() button. If you want to remove one of the parameters, click on the cross that is located in the query window itself (Figure 7, Pointer 2).
button. If you want to remove one of the parameters, click on the cross that is located in the query window itself (Figure 7, Pointer 2).
The page also displays a counter that provides information about delivered containers (Figure 7, Pointer 3). If you click on one of the counter items, an automatic filter will occur, displaying the appropriate containers.
Clicking on a container number (Figure 7, Pointer 4) will open the Container window with complete information, giving the possibility to enter or edit data (see description of "Formed container").
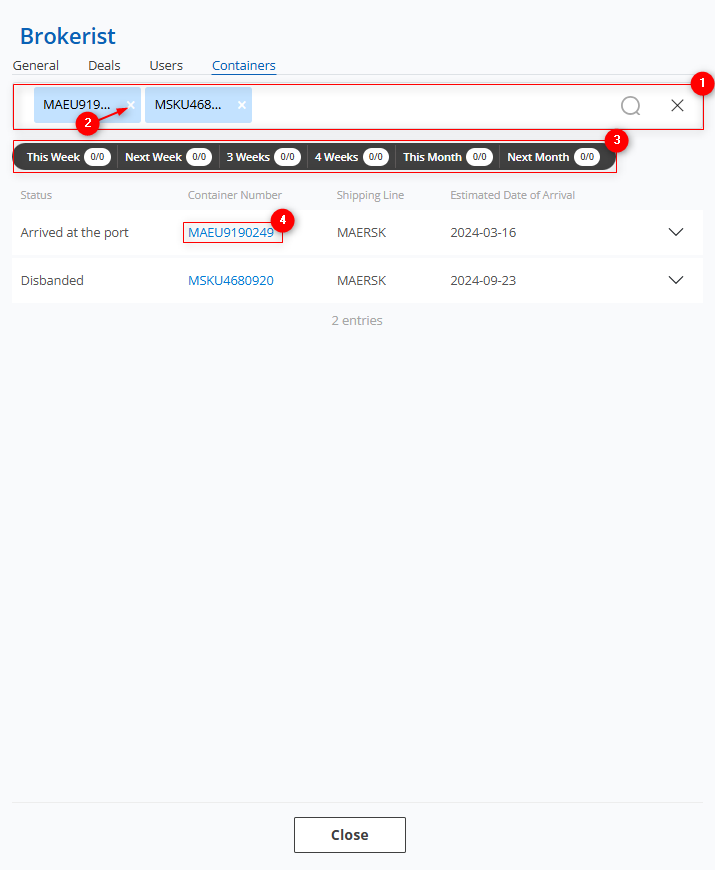 Figure 7- The “Company”/Containers window