


Logiline| Logistic CRM system - Страница "Настройки компании"
При входе в систему у вас автоматически будет создана компания. Чтобы открыть страницу сайта "Настройки компании", перейдите в раздел меню "Настройки" и выберите вкладку "Настройки компании" (Рисунок 1, Указатель 1).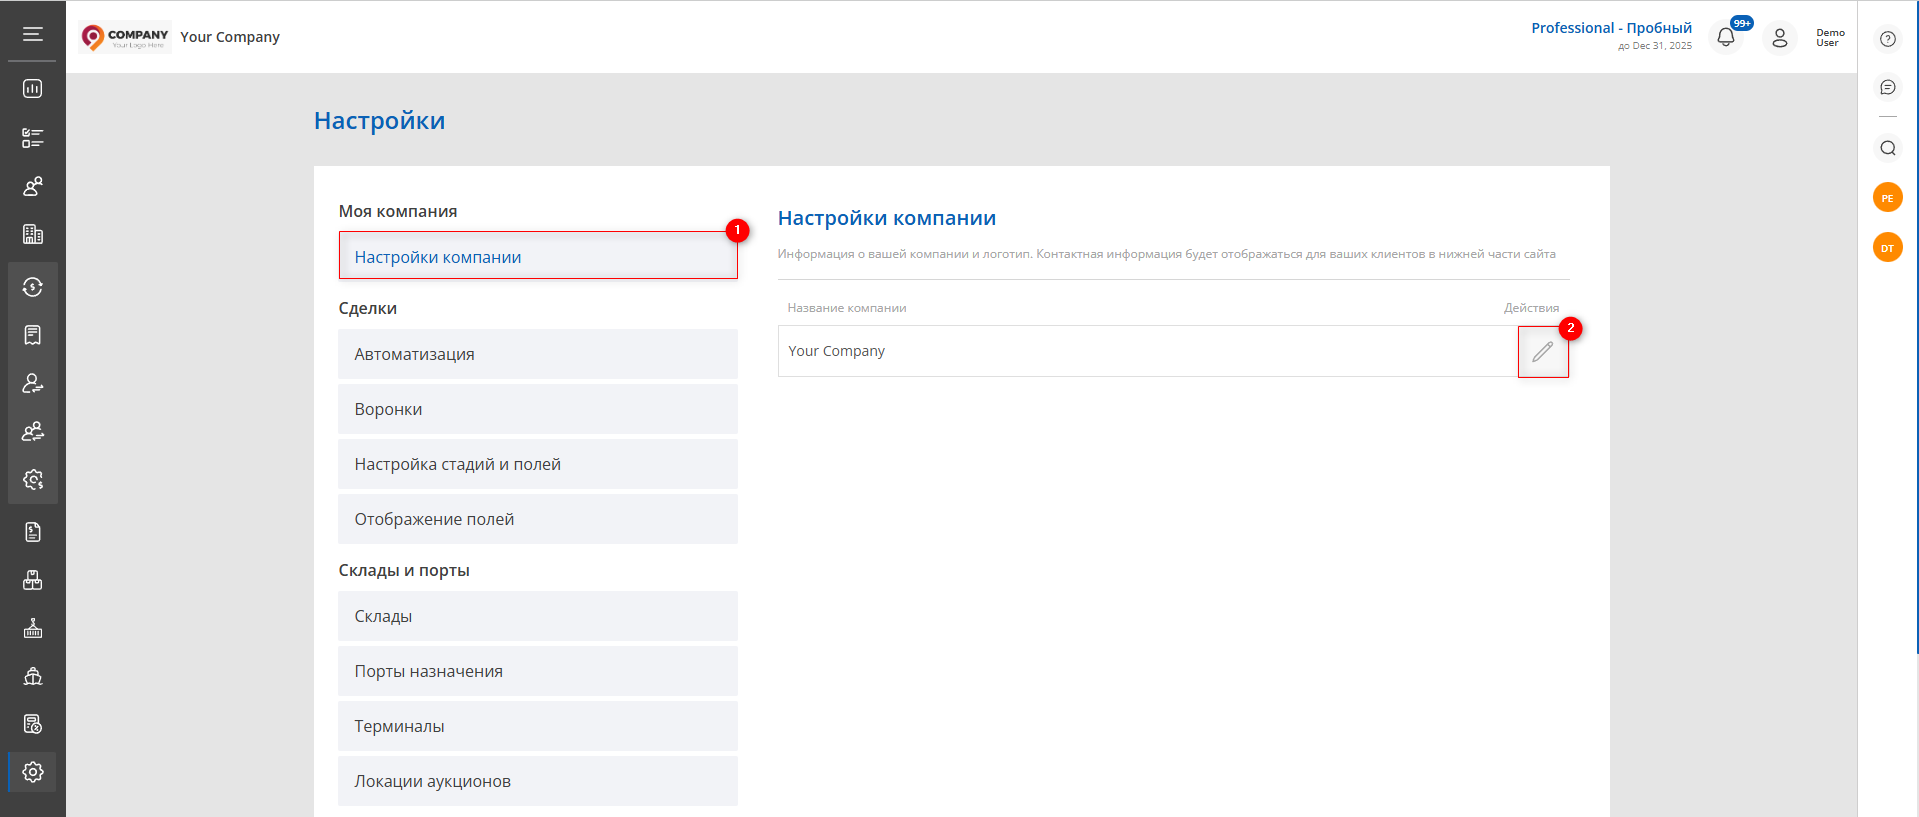
Рисунок 1 - Страница сайта “Настройки компании”
Для того чтобы внести изменения нажмите на ![]() (Рисунок 1, Указатель 2), после чего откроется окно “Настройки компании” (Рисунок 2), которое представляет 3 блока с информацией:
(Рисунок 1, Указатель 2), после чего откроется окно “Настройки компании” (Рисунок 2), которое представляет 3 блока с информацией:
Блок “Общая информация”. В этом блоке содержится основная информация о компании. Для внесения изменений в эти данные нажмите на кнопку "Редактировать" (Рисунок 2, Указатель 1) и заполните соответствующие поля:
-
“Название компании” - введите название вашей компании;
-
“Адрес сайта компании” - введите сайт компании;
-
“Еmail компании” - укажите адрес электронной почты вашей компании;
-
“Ссылка на Instagram компании” - введите URL страницы Instagram вашей компании;
-
“Ссылка на Facebook компании” - введите URL страницы Facebook вашей компании.
Блок “Телефоны компании”. Для внесения информации нажмите на кнопку "Редактировать" и нажмите на кнопку “Добавить новый телефон” (Рисунок 2, Указатель 2) и заполните соответствующие поля:
-
“Тип телефона” - выберите тип телефона;
-
“Номер телефона” - введите номер телефона компании.
Блок “Логотип”. Для добавления логотипа компании нажмите на кнопку "Загрузить" (Рисунок 2, Указатель 3), после этого выберите изображение с логотипом компании на вашем компьютере и загрузите его в систему.
Для сохранения данных нажмите на кнопку “Сохранить” . Теперь ваша компания создана, и вы можете перейти к следующему шагу.
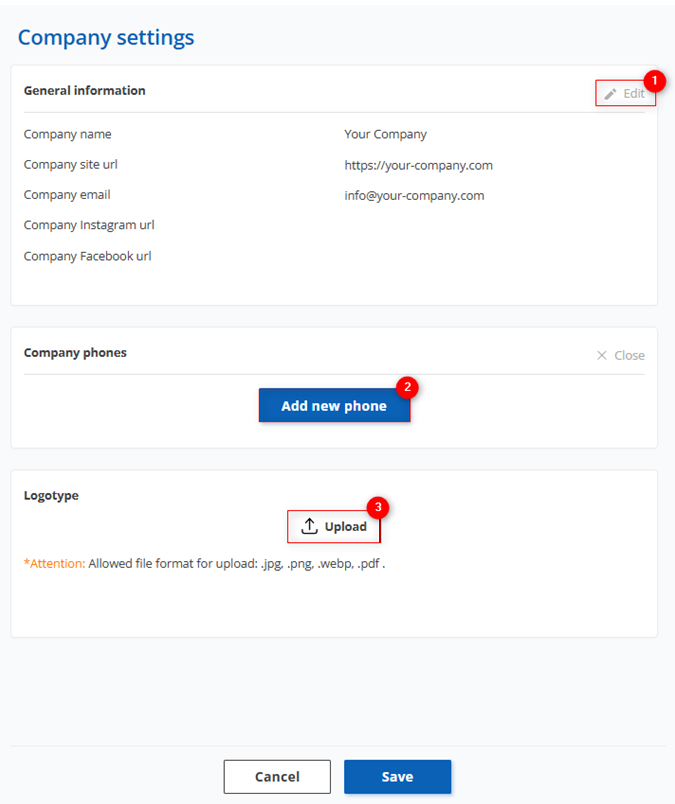
Рисунок 2 - Окно “Настройки компании”